How to Run a 30-Day Exoskeleton Pilot: A Step-by-Step Guide for Safety Leaders
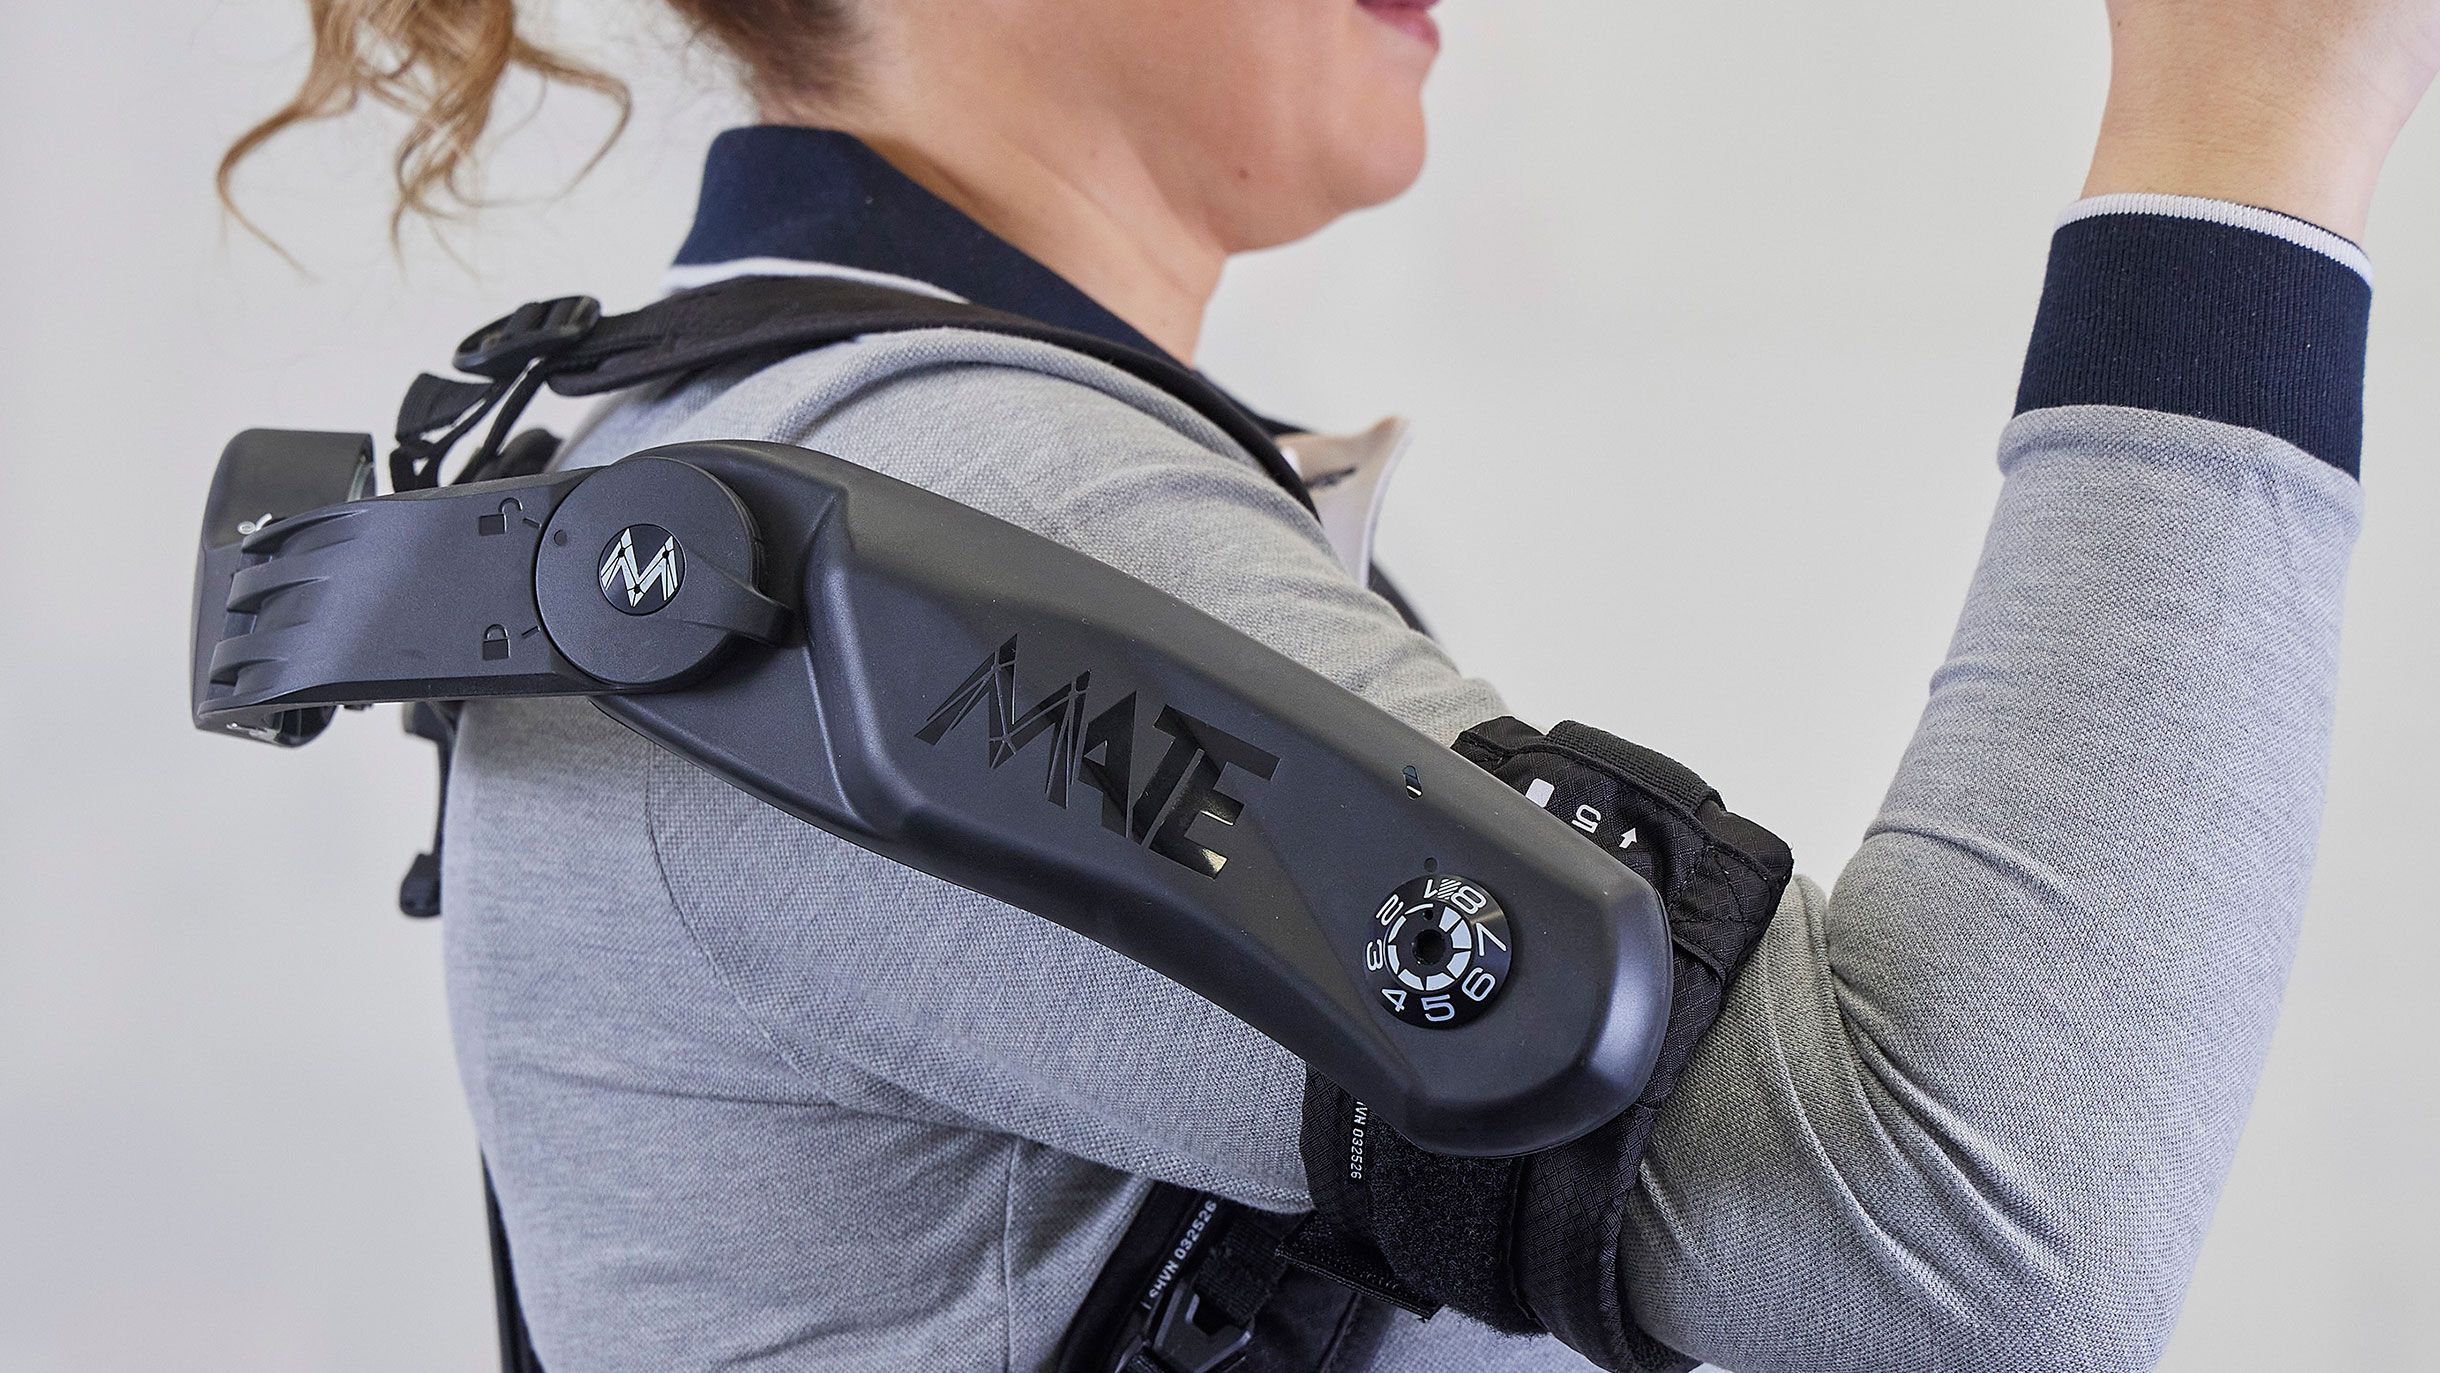
The research is compelling. The market is moving. But when you are the person responsible for workplace safety, the question is practical: how do I actually start?
Running a 30-day exoskeleton pilot is the right first step. It is short enough to fit within a planning cycle, long enough to generate meaningful data, and low-risk enough to get stakeholder buy-in.
Week 1 — Planning and Preparation
Step 1: Select Your Target Area
Choose one high-risk task area where MSK injuries are documented:
Material handling station — Clear baseline injury data available
Overhead assembly line — Measurable shoulder exertion reduction
Warehouse picking zone — High-volume, standardized bending/lifting
Construction crew — Visible, measurable task cycles
Rule of thumb: One area. One task type. One exoskeleton model. Do not overcomplicate the first pilot.
The 4-Week Pilot Timeline
30-Day Exoskeleton Pilot — At a Glance
Week 2 — Onboarding and Training
Run a fit session with the vendor or a trained ergonomist. Have each worker try 2-3 sizes, adjust all straps, and walk through the full range of job motions. Do not force a device on anyone — Airbus's volunteer-only model is the right approach.
Worker Training Session (45 min)
ROI Calculation — The Business Case
Pilot Cost vs. Projected Savings
Sources: POC.HK (2026), Industry data
Decision Framework — Go or No-Go
If: 20%+ exertion reduction, 70%+ workers willing to continue
Action: More areas, more units
If: 10-20% reduction, mixed willingness
Action: Address fit/training gaps
If: <10% reduction or low compliance
Action: Wrong device for the task
If: Negative feedback, increased chest strain
Action: Exoskeletons not right for every task
The Workplace Ergonomics Brief is a weekly newsletter by Next Reality Robotics. We help safety leaders, HR professionals, and operations teams plan and execute successful worker augmentation programs.
Subscribe to the newsletter →